
Connection Ball Hitting Drills for a Short, Compact, Powerful Swing! (Baseball Hitting Drills)

If you’ve spent any time in the baseball world, you’ve probably seen connection balls. They’re one of the most popular training tools out there – and for good reason. But here’s the thing: most people don’t know how to use them properly.
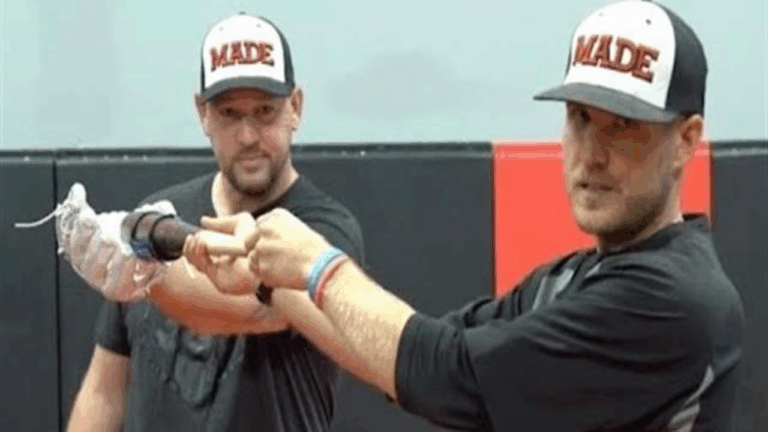
That’s why I brought in Josh Cathcart – aka The Baseball Doctor – from Hardball Academy in Pearland, Texas (just south of Houston). Josh is a master of connection ball drills, and in this post, he’s breaking down his favorite ways to use this simple but powerful tool.
The goal? A short, compact, powerful swing that stays connected from start to finish.
Watch the full video above, then use this post as your reference guide.
What Are Connection Balls?
Connection balls are inflatable balls that fit between your arms, chest, or hands to help hitters (and pitchers) feel proper connection throughout their swing.
The Key Feature – Adjustable Size:
One thing that surprises a lot of people is that connection balls come deflated. You inflate them to the size you need.
|
Player Size |
Recommended Inflation |
|---|---|
|
Youth (8-10 yrs) |
Less air – smaller ball |
|
Middle School |
Medium inflation |
|
High School+ |
Full inflation |
Why this matters: If you give a full-size ball to an 8-year-old, their arms will be hanging way out and they won’t be able to move properly. Deflate it so it fits their frame.
Pro Tip: When you order connection balls, they come in a very small package (not inflated). Don’t panic – just blow them up to the right size for your player!
What Is a Connected Swing?
Before we dive into the drills, let’s define what “connection” actually means in hitting.
The Definition:
Connection is when the upper half connects to the lower half after hip and shoulder separation.
The Connected Position:
The Goal:
Stay connected through the entire turn, then release to extension.
When you’re connected, your body works as one unit. There’s no “arm swing” – everything moves together.
Common Disconnection Problems
Here are the most common disconnection issues Josh sees:
|
Problem |
What It Looks Like |
Where Connection Ball Helps |
|---|---|---|
|
Front arm pinned |
Arm gets stuck against chest → roll over |
Creates space between chest and front arm |
|
Hands move wrong direction |
Hands start out and away from body |
Keeps hands in proper position |
|
Hands drop down |
Barrel gets too steep (under the ball) |
Prevents downward hand movement |
|
Hands go up |
Barrel gets too steep (over the ball) |
Prevents upward hand movement |
|
Barrel dump |
Elbows touch → barrel drops behind |
Keeps proper elbow spacing |
Connection Ball Drill #1: Front Arm (Head Down Drill)
This is Josh’s personal favorite – and you won’t see this one taught many other places.
What It Fixes:
The Setup:
The Execution:
Key Cues:
Pro Comparison:
Think of Nolan Arenado. He’s the prime example of a guy who keeps his head down on the ball through the swing for a long time. That’s what this drill teaches.
⚠️ WARNING: Avoid This Mistake
Don’t let the back elbow suck in and touch the front forearm.
What happens if you do:
The Fix:
Connection Ball Drill #2: Back Shoulder (Rear Arm Position)
This drill helps you feel the proper position of your knob direction and rear arm in the launch position.
What It Fixes:
The Setup:
The Execution:
Key Cues:
What to Look For:
Connection Ball Drill #3: Hands (Connected All the Way Through)
This drill focuses on staying connected through the entire swing – from load all the way to extension.
What It Fixes:
The Setup:
The Execution:
Key Cues:
What to Look For:
Drill #4: What NOT to Do – The “Shoulder Shelf”
Josh also shared a drill he does not recommend – especially for younger hitters.
The Problem Setup:
Some coaches place the connection ball up on the shoulder shelf (above the shoulder).
Why Josh Avoids This:
The Better Alternative:
Bottom line: For most hitters, especially younger ones, keep the connection ball in a natural, down position – not up on the shoulder.
Quick Summary – The 3 Connection Ball Drills
Drill #1 – Front Arm (Head Down Drill)
Drill #2 – Back Shoulder (Rear Arm Position)
Drill #3 – Hands (Connected All the Way Through)
Pro Tip: Start with Drill #1 for most hitters. It’s Josh’s favorite and addresses the most common issue – pulling the head out of the swing.
Bonus: Pro Players Use This Tool
Connection balls aren’t just for youth players. Josh mentioned that he recently got orders from the Boston Red Sox for connection balls.
Guys from pro ball all the way down to youth baseball are using this tool. If you can identify the issues your players are having and use a tool like this to help them progress, that’s something you want in your toolbox.
Where to Get Connection Balls
Sizing Reminder:
Thanks for reading! If these connection ball drills helped you, drop a comment below or share this with a coach who needs to fix their hitters’ swings.
See you in the next one.
– Coach Madden